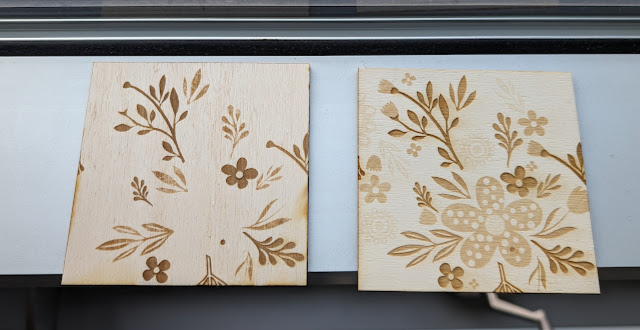
Laser Cut Test Tile
Laser Cut Test Tile
4. I made sure that my square was under the cut layer.
The laser cutting appointment
Erica suggested I put it into greyscale. I originally had my drawing layer visible and she mentioned to have it hidden. We also had to save my file as Rhino 7 vs Rhino 8.
The greyscale was 25% 50% 75% and 100%
First Attempt:
we used the laser masking paper, the laser did not get through the paper to the wood for the 50% and below.
Second Attempt:
We removed the masking paper
Details:


Comments
Post a Comment